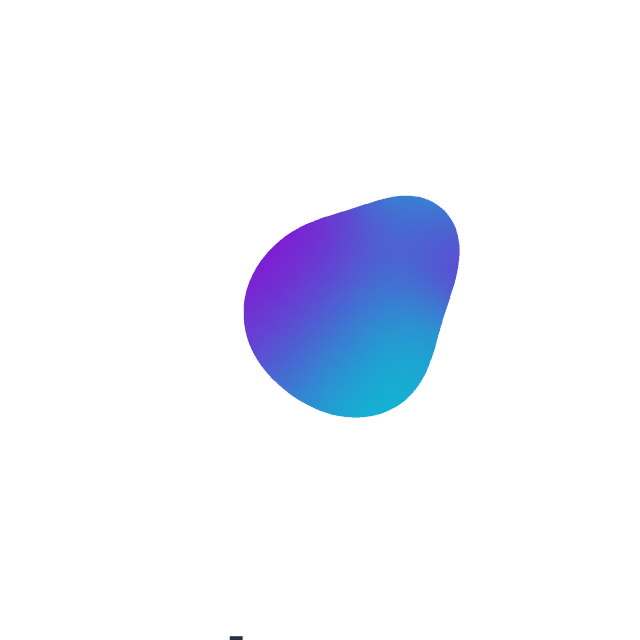
Css trick 중에 Gooey Effect라는 효과가 있다.
1. Gooey?


왼쪽처럼 흩어져 있는 아이템들을 오른쪽처럼 끈적거리게 붙어있도록 보이는 효과를
Gooey 효과라고 부른다.
Css에서 이걸 구현하는 방법은 간단하다.
- 아이템 주변을 Blur 처리하기
- 전체 이미지의 contrast를 높이기
이 두 단계만 거치면 Blur 영역이 겹치는 부분끼리 서로 끈적거리는 것 처럼 보이는 효과가 만들어진다.
css에서는 몇 줄만으로 이걸 적용할 수 있었는데, Compose에서도 Api 31 만 넘긴다면 간단하게 사용할 수 있게 되었다.
2. Compose에서 해보기
val blurEffect = BlurEffect(
    radiusX = 20f,
    radiusY = 20f,
    edgeTreatment = TileMode.Decal
)
첫 번째로 아이템의 Blur처리는
Api 31부터는 새롭게 지원하는 RenderEffect 중에 하나인 BlurEffect 를 통해서 진행할 수 있다.
( 그 이전 버전도 호출은 되지만 동작은 하지 않는다. )
val colorFilter = ColorFilter.colorMatrix(
        ColorMatrix(
            floatArrayOf(
                1f, 0f, 0f, 0f, 0f,
                0f, 1f, 0f, 0f, 0f,
                0f, 0f, 1f, 0f, 0f,
                0f, 0f, 0f, 80f, -1000f
            )
        )
    )
두 번째로 contrast를 높이기 위해선 ColorFilter를 사용할 수 있다.
ColorMatrix의 마지막 라인이 Alpha를 계산하기 위한 matrix이다.
Blur 처리된 부분의 alpha 값을 올려야 되기 때문에, 이 값을 적절히 집어넣어서 해결한다.
@RequiresApi(Build.VERSION_CODES.S)
fun createGooeyRenderEffect(): RenderEffect {
     ...
    return android.graphics.RenderEffect.createColorFilterEffect(
        colorFilter.asAndroidColorFilter(),
        blurEffect.asAndroidRenderEffect()
    ).asComposeRenderEffect()
}
마지막으로 이걸 하나의 RenderEffect로 합쳐주면 된다.
createColorFilterEffect 를 사용하면 ColorFilter와 RenderEffect를 조합한 RenderEffect를 생성할 수 있다.
여기서는 BlurEffect 가 먼저 적용되고, ColorFilter가 적용되게 된다.
3. 적용해보기
graphicsLayer Modifier를 통해서 방금 만들어준 renderEffect를 적용해주면
아래같이 끈적거리는 것처럼 보이도록 만들 수 있다.

@RequiresApi(Build.VERSION_CODES.S)
@Composable
fun GooeyLoading(modifier: Modifier = Modifier) {
    BoxWithConstraints(modifier) {
        val width = with(LocalDensity.current) { maxWidth.roundToPx() }
        val height = with(LocalDensity.current) { maxHeight.roundToPx() }

        val transition = rememberInfiniteTransition()
        val progress by transition.animateFloat(
            initialValue = -1f, targetValue = 6f, animationSpec = InfiniteRepeatableSpec(
                tween(easing = FastOutSlowInEasing, durationMillis = 4000),
                repeatMode = RepeatMode.Reverse
            )
        )

        Canvas(modifier = Modifier
            .fillMaxSize()
            .graphicsLayer { renderEffect = createGooeyRenderEffect() }, onDraw = {
            withTransform({ translate(width / 2f, height / 2f) }) {
                for (i in 0..5) {
                    val circleProgress = (progress - i.toFloat()).coerceIn(-1f, 1f)
                    val x = circleProgress * 100f
                    drawCircle(Color.Blue, radius = 10f, center = Offset(x, 0f))
                }
                drawCircle(
                    Color.Blue, radius = progress * 5, center = Offset(100f, 0f)
                )
                drawCircle(
                    Color.Blue, radius = 25 - progress * 5, center = Offset(-100f, 0f)
                )
            }
        })
    }
}
4. 실제로 쓰기는 애매하다.
위에 방식은 쉬워서 로딩같이 가벼운 곳에서 쓰기 좋다.
- 뷰 전체에다가 renderEffect를 걸어서 모든게 ( 글자, 아이콘 ) 뭉개져 버린다. ( renderEffect를 안 쓰면 해결됨 )
- alpha 값을 조절하다 보니 elevation으로 생긴 shadow 도 사라져 버린다.
라는 두 가지 이유가 있어서 범용적으로 쓰기 어렵다.
5. Api 30 이하에서 적용해보기
원리는 동일하지만 BlurEffect 를 사용할 수 없기 때문에 위에 코드처럼 Modifier 하나만으로 작업을 할 수는 없고,
직접 모든 아이템에 직접 Blur를 먹여야 한다.
이에 관련된 코드는 아래 repo에서 확인할 수 있다.
GitHub - D000L/Gooey: "Gooey-Effect" for android-compose
"Gooey-Effect" for android-compose. Contribute to D000L/Gooey development by creating an account on GitHub.
github.com
'안드로이드' 카테고리의 다른 글
| Android - Module Graph 그리기 (0) | 2022.11.13 |
|---|---|
| Compose - Modifier.Node ( composed 상위호환 ) (0) | 2022.11.08 |
| Android - Compose 1.3 PullRefresh (0) | 2022.11.01 |
| Android - Compose 1.2 바뀐 것 (0) | 2022.08.11 |
| Android - MovableContentOf in Compose (0) | 2022.08.10 |


